Workato + Bitbucket: A Practical Guide to Automated Recipe Deployment
I'm an Integration developer with extensive knowledge on designing, developing & architecture integration solutions using MuleSoft,Workato,Celigo,Talend,Spring,Java
Introduction:
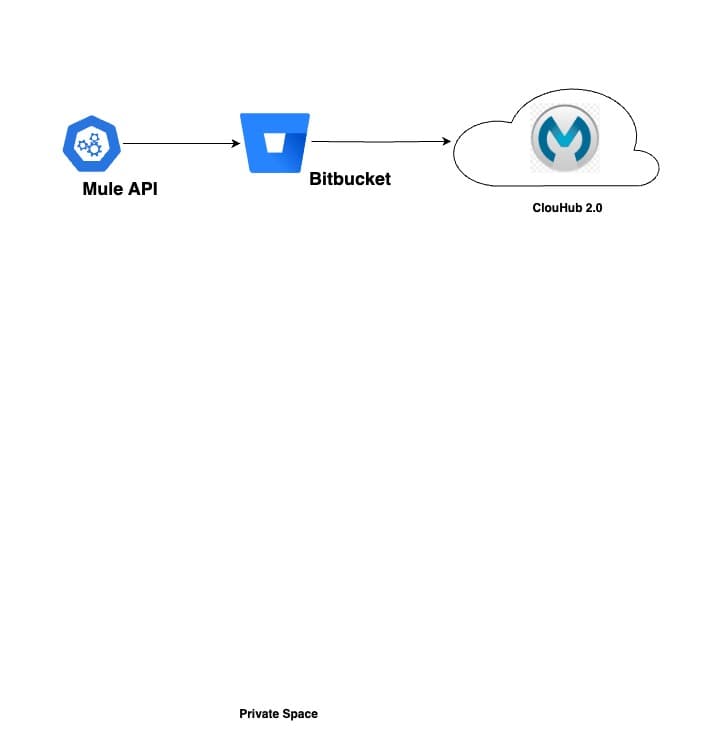
Deploying Workato recipes across environments can be a challenge if done manually, especially when teams need speed, consistency, and reliability. To solve this, I built a CI/CD pipeline using Bitbucket, which automates recipe deployments end to end.
The process is simple: the pipeline generates a ZIP build of the recipe and then uses a cURL call to Workato APIs to deploy it. This approach not only saves time but also reduces manual effort and ensures deployments are repeatable and error-free.
In this blog, I’ll share how I set up automated recipe deployment with Bitbucket, along with the key steps and benefits of bringing DevOps practices into Workato.


First, create a Workato account and set up a well-structured folder hierarchy to organize your connectors, connections, and recipes. This makes it easier to manage deployments and maintain consistency across environments.
Why Use CI/CD with Workato for Blogspot?
By integrating Workato’s automation capabilities with CI/CD pipelines, you can:
Automate deployment and updates to your Blogspot blog.
Ensure version control and rollback capability for your recipes and configurations.
Maintain consistent environments between testing and production.
Accelerate content publishing and reduce operational overhead.
Prerequisites
Before diving into the deployment process, ensure you have the following:
An active Workato account with permissions to create and manage recipes.
A Bitbucket repository (or other version control system) to store your Workato recipes and deployment scripts.
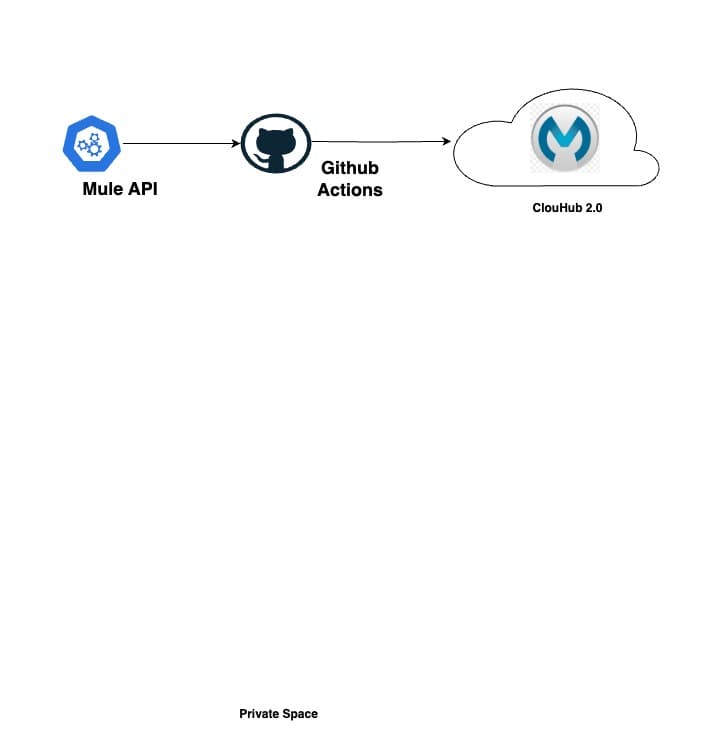
Access to a CI/CD tool like GitHub Actions, GitLab CI, or Jenkins.
Basic knowledge of YAML and scripting (Bash, Python, etc.).
Below is a sample CI/CD pipeline template using Bitbucket Pipelines. Adapt similar concepts for other tools (e.g., GitLab CI, Jenkins).
# This is an example Starter pipeline configuration
# Use a skeleton to build, test and deploy using manual and parallel steps
# -----
# You can specify a custom docker image from Docker Hub as your build environment.

image: atlassian/default-image:3

pipelines:
  default:
    - parallel:
      - step:
          name: 'Build and Deploy to Dev'
          script:
            - zip -r bundle.zip .
            - >-
              curl -X POST 'https://www.workato.com/api/packages/import/239872?restart_recipes=true' --header 'Authorization: Bearer wrkaus.cHQ2kfVltlIQabEH_UF1J5D9QCd_GQHhLqJ5IEaNUrouKxl4SthG3OE5vRkaaH42huNxaL2FCuRex0YAys4Ujp0dDGMeK-5UQuf8Kb-0B0s4cTHzgTPPsMHwwBhvF0CLCDjnjpEJ3b2QOj5FSk8oKJ31KdOKFhiEc8AyIH3N3kVzN0_Lcv4K7pX0ngmFhI7XNRrKa' --header 'Content-Type: application/octet-stream' --data-binary '@/opt/atlassian/pipelines/agent/build/bundle.zip'
After naming the master branch, I created a step in the pipeline. Each step is displayed separately in the Pipelines UI with its label, and the output of that step is also visible. This makes it easy to trace what was executed during a build or integration at any point in time.
- When implementing CI/CD for Workato, it’s important to follow the recipe file lifecycle management steps to ensure recipes are properly versioned and organized. Once the recipes are exported from Workato, they should be committed into Bitbucket using the same folder structure that was defined in your lifecycle management approach. By mirroring the structure of folders for connectors, connections, and recipes, you create a one-to-one mapping between what exists in Workato and what is stored in your source control. This consistency not only makes the repository easier to navigate but also simplifies deployments, reduces the risk of errors, and provides clear traceability of changes across environments.
Recipe LifeCycle Management Link by Workato Official Documentation:
To export the Recipe and and to commit the structured unzipped to Repository
https://docs.workato.com/en/recipe-development-lifecycle.html
https://docs.workato.com/en/oem/oem-api/recipe-lifecycle-management.html#manifest-update